Description
Delegates let a user’s account be opened and managed by someone they trust. A delegate can work in the user’s account as if they were that user, which is useful when a colleague is covering while the user is away or an assistant manages the user’s inbox.
Managing Delegates in Shield
Users can manage their own delegates from their user menu, and Shield administrators can manage delegates for any user from the Users page in Shield Ctrl.
Delegate Capabilities
A delegate can view the user’s account and act on its behalf. This includes reviewing held mail, managing the user’s trust network, and handling anything else the user normally would.
Delegate access is limited to the user’s own account. Delegates never see the user’s password or sign-in settings, they can’t pass their access on to anyone else, and Ctrl access isn’t shared with them. Access can be removed at any time.
Eligibility
A delegate must be someone at the same Shield organization as the user or at the parent organization that manages that company’s email service.
Manage Delegates
Delegates can be managed from two places:
- Users manage their own delegates. In Shield, the user selects their profile picture in the upper-right corner, then selects Delegates. The add and remove steps are the same as the ones below.
- Administrators manage delegates for any user. In Shield Ctrl, open the Users page, select the user, then select Delegates under Operations.
View a User’s Delegates
The People [user] has shared this account with list shows each delegate’s name and email address. If the user has no delegates, the list shows No one has access yet.
Add a Delegate
On the user’s Delegates page, select Add.
- In Email address, type the delegate’s complete email address.
- Shield validates the address once it’s complete. When the address is eligible, Shield confirms the delegate can be added, and Save becomes available.
- Select Save.
Shield confirms that the delegate now has access, and the delegate appears in the user’s list of delegates.
Shield doesn’t notify the delegate or the user when access is granted, so let both know once the delegate is added.
Remove a Delegate
- On the user’s Delegates page, select the X next to the delegate’s name.
- Select Remove access to confirm.
The delegate loses access as soon as you confirm. If they’re working in the user’s account at that moment, Shield returns them to their own account on their next click. Shield confirms that the delegate no longer has access, and you can add them again at any time.
Shield doesn’t send a notification when access is removed, so let the delegate and the user know about the change.
Troubleshooting
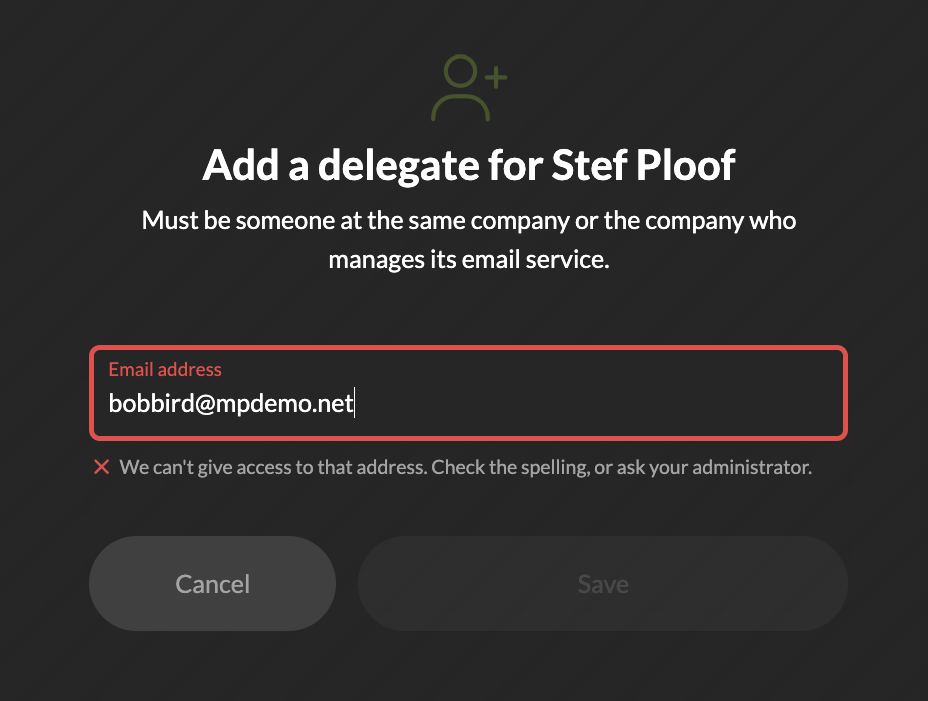 “We can’t give access to that address”
This message appears when the email address isn’t eligible to be a delegate, and Save stays unavailable. To resolve it:
- Check the address for typos.
- Confirm the person belongs to the user’s organization or to the partner organization that manages its email service.
Users who see this message in their own account are directed to their Shield Admin, so expect these requests to come to you.
Related to
Updated