Description
Bracket notification emails come from two static IP addresses, include SPF and DKIM records to validate the emails and follow the best practices for consistent email delivery. However, we still receive reports of recipients finding the Bracket notifications or sign-in link emails in their Junk E-Mail folders when using Office 365 or Outlook. The challenge appears to be with the Microsoft filters that cannot be turned off, and we have found that Microsoft's emails for Bing and Xbox services can end up in the Junk E-mail folder. We believe the Microsoft filters can be aggressive and require some additional training help from end-users.
This article describes the process to send the emails to Microsoft for analysis and reporting of the false positive to consistently deliver the notification emails in the future.
Applies to:
Bracket, Office 365 (O365), Outlook, Outlook for the Web (OWA)
How to Report the False Positive
NOTE: Screenshots are taken from Outlook 2016. The steps will be similar with other versions of Outlook and OWA but may appear slightly different. Please contact your IT support team if you have questions.
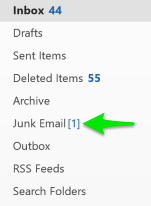
When receiving a Bracket encrypted email or requesting the sign-in link to the portal, you may find that the notification or sign-in email is sent to the Junk E-mail folder.
This is a false positive, and the following steps will guide you to add it as a Safe Sender and notify Microsoft to not treat it as junk or spam in the future.
- Go to the Junk E-mail folder and select the message from the message list.
- Once the message is selected, click on the Junk dropdown in the Ribbon menu of Outlook to select Not Junk as shown in Figure 1. You will receive a confirmation dialog that states the message will be moved back into the Inbox Folder and a checkbox will add the "do.not.reply.with.email@bracket.email" to your Safe Senders List. This will prevent Outlook from putting the emails in the Junk Email folder.
Fig. 1
- Next, go back to your Inbox folder and find the notification or sign-in link email. If you have not read your encrypted email or haven't signed into the Bracket portal, please do so before proceeding to Step 4.
- Assuming you have read the encrypted message or signed into the portal, go back to Outlook and create a new email. Address the email to not_junk@office365.microsoft.com with a subject line of False positive as shown in Figure 2.
Fig. 2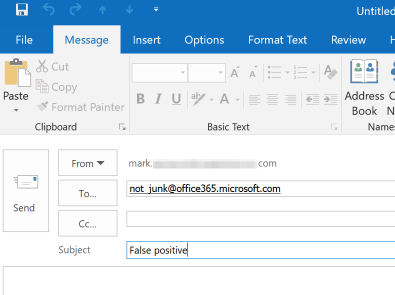
- You will need to attach the notification or sign-in link email from your Inbox.
IMPORTANT: The email's original content and header information are kept intact for Microsoft to evaluate the data accurately. If you forward the email, critical information is not sent to Microsoft that can help prevent this false positive in the future.
Select the Attach Item dropdown from the new email's Ribbon Menu and select Outlook Item as shown in Figure 3.
Fig. 3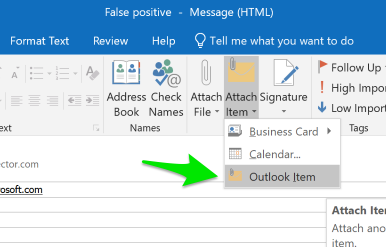
- The Insert Item dialog box will open with your Inbox already selected. Find the notification or sign-in link email that you moved to your Inbox in Step 2 and select the message. After the message is selected, click the OK button to add the email as an attachment, as shown in Figure 4.
Fig. 4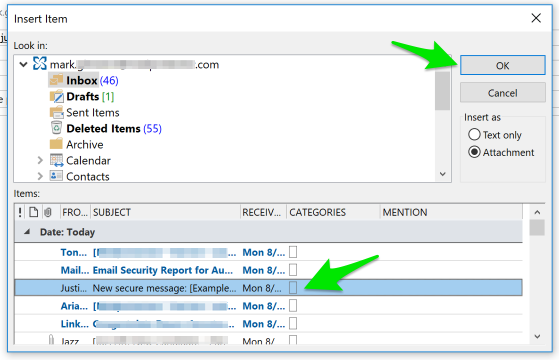
- The new email will now be addressed to Microsoft false positive team with the original email that was moved to your Inbox. Click the Send button, as shown in Figure 5, to complete the process.
Fig. 5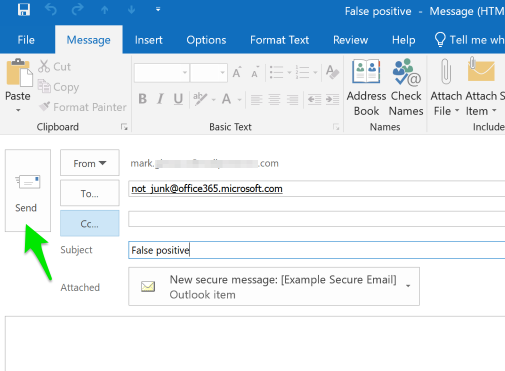
The notification address has been added to Outlook's Safe Sender List, but if you use Office 365's Exchange Online, you may still find that these emails may go to the Junk E-mail folder. Continue to follow these steps to help train Microsoft to trust the notification emails from Bracket.
If you have additional questions, please contact your IT support team. Thank you.
Updated